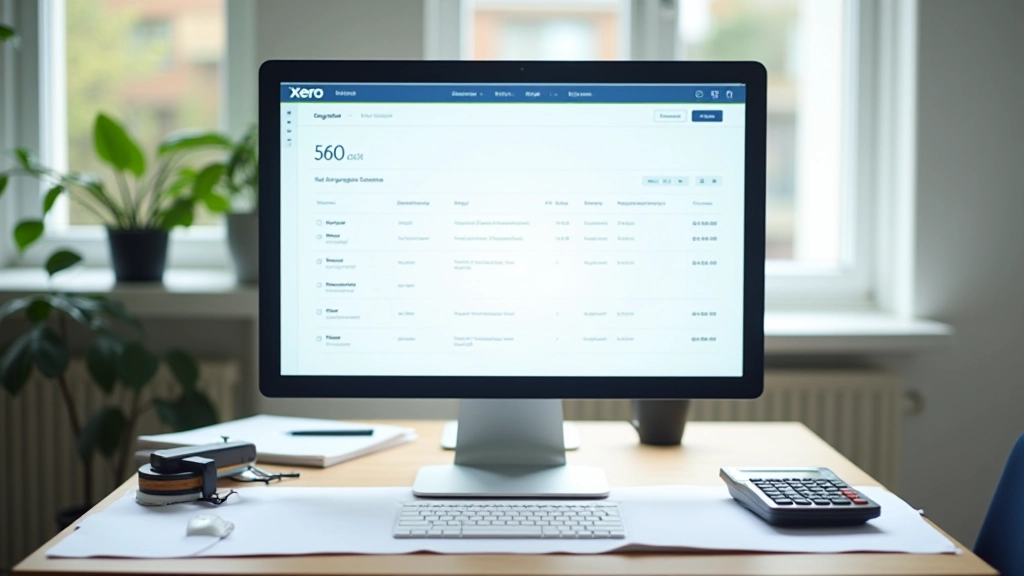
Xero vs QuickBooks: Which One Fits Your Business
Real comparison of Xero and QuickBooks for Canadian businesses — pricing, features, integrations, and which one works best for your specific needs.
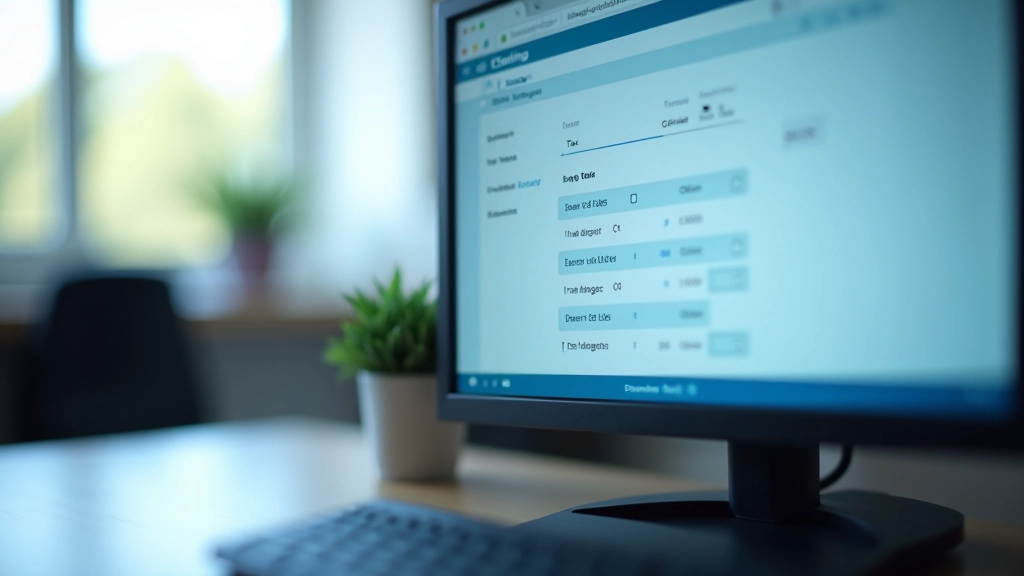
Read ArticleStep-by-step walkthrough of configuring QuickBooks for Canadian tax rules, GST/HST tracking, and province-specific settings.

Setting up QuickBooks Online isn’t just about installing software — it’s about tailoring it to your specific business needs. If you’re running a business in Canada, there’s more to consider than the standard setup. GST/HST registration, provincial tax rates, and industry-specific accounting rules all play a role in how you’ll configure your system.
The good news? We’re going to walk you through exactly what you need to do. You don’t need accounting experience to get this right. We’ll cover the essential settings, the ones that matter most for Canadian compliance, and the practical steps to avoid costly mistakes later.

Follow these core steps to configure your account correctly from day one.
Start with the basics. You’ll enter your business name, legal structure (sole proprietor, corporation, partnership), and address. But here’s what matters for Canadian businesses — make sure you’re selecting the right country and province. QuickBooks will adjust tax settings based on your location.
This is crucial. If you’re registered for GST or HST (depending on your province), you’ll need to add your registration number and set up tax codes. Ontario uses HST (13%), Alberta uses GST only (5%), and other provinces fall somewhere in between. Get this wrong and you’ll spend hours fixing it later.
QuickBooks comes with a template, but you’ll likely need to customize it. Your chart of accounts is the backbone of your bookkeeping. You’ll want accounts for income, expenses, assets, liabilities, and equity. The structure should match how you actually run your business, not what a generic template suggests.
Bank feeds are where QuickBooks really shines. You can connect your Canadian bank account (most major banks support this), and transactions will import automatically. This saves you hours of manual entry and reduces errors. Most transactions match automatically — you just review and confirm.
Tax settings aren’t optional in QuickBooks — they’re fundamental. Canada’s tax system varies significantly by province. British Columbia, Alberta, Saskatchewan, and Manitoba use GST (5%). Ontario, Prince Edward Island, Nova Scotia, and Newfoundland use HST (which combines GST with provincial sales tax). Quebec has its own system with GST plus QST.
You’ll need to create tax codes for each rate you charge. If you’re selling taxable items at 5% GST, that’s one code. If you’re in an HST province and charge 13%, that’s different. Non-taxable items (like certain services or exports) need their own codes too. This matters because when tax time comes, QuickBooks will calculate what you owe based on these codes.
Pro tip: Don’t just use QuickBooks’ defaults. Review your industry and verify which items are taxable in your province. A bookkeeper familiar with your business can save you thousands in tax corrections later.
These aren’t theory — they’re strategies that work for real Canadian businesses.
Set up sequential numbering from the start. Canadian tax authorities expect consistent invoice numbers. QuickBooks can do this automatically, so you don’t have to remember what the next number should be.
If you buy or sell in USD, you’ll want QuickBooks to handle currency conversion. Set up your home currency as CAD and add USD if needed. This simplifies reporting and tax compliance.
If you have team members, set up permissions from day one. You don’t want your bookkeeper deleting accounts or changing tax codes. QuickBooks lets you create limited access accounts that work perfectly for this.
It’s tempting to let reconciliation pile up, but doing it monthly takes 30 minutes. Waiting until year-end means finding three-month-old errors. Make it a routine — every month, match your QuickBooks balance to your bank statement.
QuickBooks stores everything in the cloud, but you should still download backups quarterly. If you ever need to migrate systems or just want historical records, you’ll be glad you have them.
QuickBooks comes with standard reports, but you can modify them. Create versions that show what matters to your business — cash flow, inventory turnover, customer profitability. Save these custom reports for quick access.
QuickBooks doesn’t exist in isolation. You’re probably using other tools — payroll software, CRM systems, e-commerce platforms. The real power comes from connecting these systems so data flows automatically.
For Canadian businesses, payroll integration is essential. If you use ADP, Guidepoint, or Ceridian (all common in Canada), you can sync payroll expenses directly into QuickBooks. Your journal entries post automatically, eliminating manual reconciliation. Similarly, if you’re selling through Shopify or WooCommerce, sales data can flow into QuickBooks without double entry.
Most integrations happen through apps or API connections. QuickBooks has an App Store with hundreds of pre-built integrations. If your tool isn’t there, tools like Zapier can create custom connections. The time you save on data entry pays for itself in the first month.

Setting up QuickBooks Online correctly takes time, but it’s time well spent. You’re creating the foundation for accurate financial reporting, simpler tax preparation, and better business decisions. The steps we’ve covered — company details, GST/HST configuration, chart of accounts, and bank integration — are the core foundation.
Don’t rush through setup. A few hours now prevents months of cleanup later. And remember, you’re not locked in. QuickBooks allows adjustments throughout the year. But starting with the right configuration means fewer headaches and more accurate data from day one.
This article is provided for educational and informational purposes only. It’s not professional accounting or tax advice. Tax regulations vary significantly by province and business type in Canada. Before implementing any of the strategies discussed here, consult with a qualified accountant or bookkeeper familiar with your specific situation. Tax codes, GST/HST rates, and compliance requirements change regularly. Always verify current requirements with Canada Revenue Agency (CRA) or your provincial tax authority.